- Last updated 10/10 - Walkthrough and Boss Guide are feature complete except Quick Servant Tables.
- The spoilers in this walkthrough are limited to what enemies you will face in a particular node.
- Every major boss encounter is initially hidden.
- Press the New Monster Information or Boss Information headers to see specific spoilers, advice and/or tips.
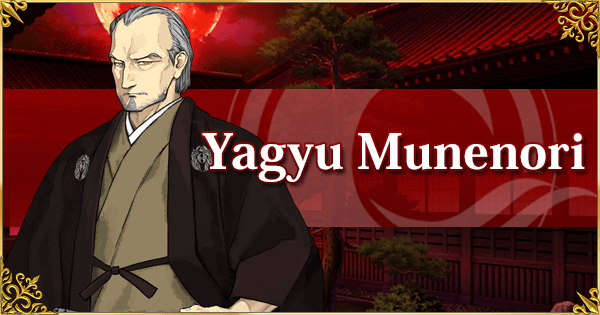
- Generally, Shimousa is considered the hardest Pseudo-Singularity due to the difficult Bond Bonus & Forced Main Story Support for bosses. For advice, see the Shimousa Preparation article.
- Break Bars are a standard feature by now, bosses cannot be cleared within a single turn.
- Knight Class (Saber, Archer, Lancer) Servants receive double bond points! Unlike previous EoR Singularities, this restriction is much more challenging to adhere to against enemy bosses.
- General rule of thumb when using a bond bonus team is to be careful around quests marked as hard or very hard.
- Finally, the filler sections between bosses provide unrestricted support access and are much easier.
- A full clear requires around 921 AP.
- Spotted an error, have a question, or ideas to improve the guide? Feel free to drop a comment on the Walkthrough forum thread.
- It is highly recommended to play this Singularity with the sound on due to the unique Boss Battle Introductions.
- Have fun and enjoy the story!
Knight Class Bond Bonus Servant on Release
| Class | [Knight-class] Servants |
|
|
|
|
|
|
|
|
|
Knight Class Support Servant Recommendations on Release
| Umu Tier | |
|
| |
| Strong Offensive Support (skills) | |
|
| |
| Critical Star Generation | |
|
| |
| Taunt Servants | |
| NP Chargers | |
Node Difficulty Scale
| Filler | Easy | Moderate | Hard | Very Hard |
| Node | Enemy Classes | Enemies & Difficulty | Notes | |||||||||||||||||||||||||||||||||
St. 1 - 1 |
A new Monster approaches: A new Monster approaches: Our journey begins with 2 new frequently appearing mob types for this Singularity. Click the New Enemy Information below for specifics. |
|||||||||||||||||||||||||||||||||||
New Monster Information
|
||||||||||||||||||||||||||||||||||||
St. 1 - 2 |
There will be many instances of these enemy ghosts while clearing this Singularity. For those adhering to the bond bonus, borrowing a Caster is a good idea for most nodes to speed things up. A non-Knight Support has no effect on the Singularity bond bonus! | |||||||||||||||||||||||||||||||||||
St. 2 - 1 |
Charge an Archer NP for wave 3. | |||||||||||||||||||||||||||||||||||
St. 2 - 2 |
Pure Story Chapter. | |||||||||||||||||||||||||||||||||||
St. 3 - 1 |
Prepare Saber NPs for wave 3. | |||||||||||||||||||||||||||||||||||
St. 3 - 2 |
Only 2 waves, prepare an Archer NP. | |||||||||||||||||||||||||||||||||||
St. 3 - 3 |
Pure Story Chapter. | |||||||||||||||||||||||||||||||||||
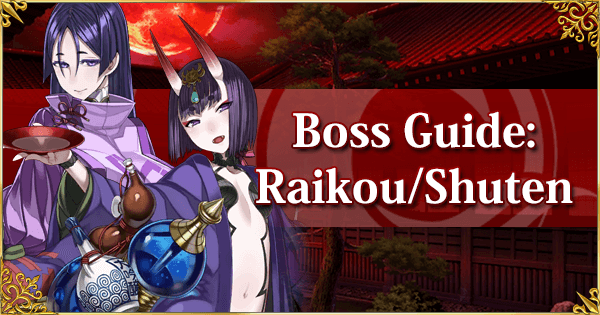
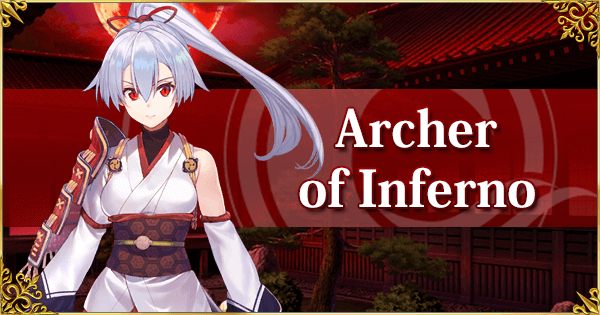
St. 3 - 4 |
Boss encounter. Click the Boss Information below for specifics. |
|||||||||||||||||||||||||||||||||||
Boss Information
|
||||||||||||||||||||||||||||||||||||
St. 4 - 1 |
Pure Story Chapter. | |||||||||||||||||||||||||||||||||||
St. 4 - 2 |
A new Monster approaches: These filler mobs will show up a lot, but are hardly threatening given their Knight class. |
|||||||||||||||||||||||||||||||||||
New Monster Information
|
||||||||||||||||||||||||||||||||||||
St. 5 - 1 |
Tamamo may stall, but only Kiyohime poses a real threat. Burst her down. | |||||||||||||||||||||||||||||||||||
St. 5 - 2 |
Pure Story Chapter. | |||||||||||||||||||||||||||||||||||
St. 5 - 3 |
||||||||||||||||||||||||||||||||||||
St. 5 - 4 |
Charge NPs on the first two waves, and be ready to take out the Archer in wave 3. | |||||||||||||||||||||||||||||||||||
St. 6 - 1 |
Pure Story Chapter. | |||||||||||||||||||||||||||||||||||
St. 6 - 2 |
||||||||||||||||||||||||||||||||||||
St. 6 - 3 |
||||||||||||||||||||||||||||||||||||
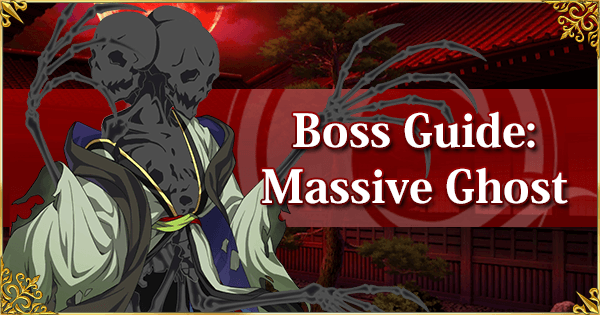
St. 6 - 4 |
Boss encounter. Click the Boss Information below for specifics. |
|||||||||||||||||||||||||||||||||||
Boss Information
|
||||||||||||||||||||||||||||||||||||
St. 7 - 1 |
Forced Musashi only. Bring a Mystic Code with an offensive buff for Musashi, use a high NP Gain (ABQ) chain and kill one of the clones on turn 1. Use Fifth Force on turn 2 for Critical Stars and NP Gain. Fully buff Musashi and blow up Fuuma with an NPBB crit chain. |
|||||||||||||||||||||||||||||||||||
St. 8 - 1 |
Masters who stick to the Knight bonus should borrow a (support) Caster to deal with the Assassins quickly. | |||||||||||||||||||||||||||||||||||
St. 8 - 2 |
||||||||||||||||||||||||||||||||||||
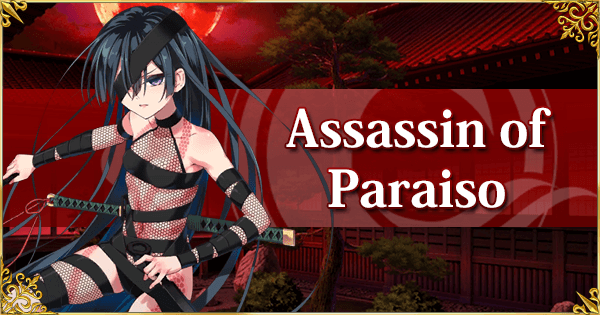
St. 8 - 3 |
With a vast amount of HP, this fight can drag on for Knight Class Servants. Bring/borrow an (ST) Caster, as Assassin Paraiso only use her Extra attack on full NP bar. |
|||||||||||||||||||||||||||||||||||
St. 9 - 1 |
Pure Story Chapter. | |||||||||||||||||||||||||||||||||||
St. 9 - 2 |
A new Monster approaches: These Hydra-family mobs are terrifying, but with only Lancers in this node, Sabers should make short work of this. |
|||||||||||||||||||||||||||||||||||
New Monster Information
St. 9 - 3 Together they have a fair amount of HP, consider bring a (Caster) Support for some extra durability. Typically, remove the Berserker first. |
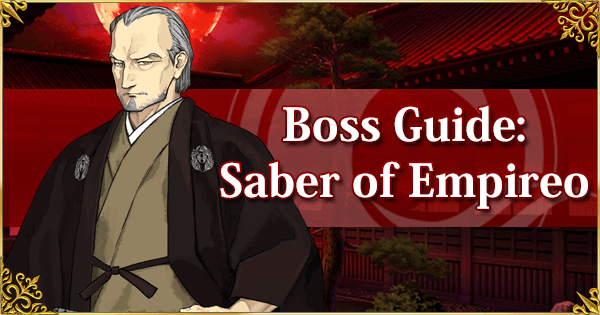
St. 9 - 4 Boss encounter. |
Click the Boss Information below for specifics.
|
Boss Information
Back to Chapter Selection |
| ||||||||||||||||||||||||||||||||
| Node | Enemy Classes | Enemies & Difficulty | Notes | |||||||||
St. 10 - 1 |
Pure Story Chapter. | |||||||||||
St. 10 - 2 |
Protect an Archer and have it blast wave 3's Saber. | |||||||||||
St. 10 - 3 |
A taste of what is to come, but unlike many of these early boss fights, Masters need to put in some effort to complete the quest. Break either of their HP Bars to finish the fight, the Berserker naturally being easier to take out. |
|||||||||||
St. 11 - 1 |
||||||||||||
St. 11 - 2 |
A new Monster approaches: Plenty of time to prepare for the Berserker Oni in the final wave with an ST NP. |
|||||||||||
New Monster Information
|
||||||||||||
St. 11 - 3 |
The mixed classes make charging slightly more difficult, but the Lancer in wave 3 has a lot of HP. | |||||||||||
St. 12 - 1 |
Pure Story Chapter. | |||||||||||
St. 12 - 2 |
Damage heavily, of Break the HP Bar of the Berserker Servant to get her to flee. Clean up the big Snake afterwards. |
|||||||||||
St. 12 - 3 |
Boss encounter. Click the Boss Information below for specifics. Seriously, this one is no joke. |
|||||||||||
Boss Information
|
||||||||||||
St. 12 - 4 |
Pure Story Chapter. | |||||||||||
St. 13 - 1 |
Pure Story Chapter. | |||||||||||
St. 13 - 2 |
A mixed-class fight full of reinforcements. | |||||||||||
St. 14 - 1 |
Charge on ST NPs on wave 1 for the single Oni in wave 2. | |||||||||||
St. 14 - 2 |
The strongest Orochi so far. The full class advantage this node helps, but it is pretty beefy. |
|||||||||||
St. 14 - 3 |
Prepare ST NPs for wave 3. | |||||||||||
St. 14 - 4 |
Mini Boss encounter. Click the Mini Boss Information below for specifics. |
|||||||||||
Mini Boss Information
|
||||||||||||
St. 14 - 5 |
Wave 1 and 2 have reinforcements, and wave 3 has a decently strong Orochi. | |||||||||||
St. 14 - 6 |
Boss encounter. Click the Boss Information below for specifics. |
|||||||||||
Boss Information
|
||||||||||||
St. 15 - 1 |
Prepare an ST Saber NP for wave 3. | |||||||||||
St. 15 - 2 |
Boss encounter. Click the Boss Information below for specifics. From this point on, make sure to play with sound! |
|||||||||||
Boss Information
|
||||||||||||
St. 15 - 3 |
Boss encounter. Click the Boss Information below for specifics. |
|||||||||||
Boss Information
|
||||||||||||
St. 15 - 4 |
Second Mini Boss encounter. Click the Mini Boss Information below for specifics. |
|||||||||||
Mini Boss Information
|
||||||||||||
St. 15 - 5 |
Pure Story Chapter. | |||||||||||
St. 16 - 1 |
Pure Story Chapter. | |||||||||||
St. 16 - 2 |
Pure Story Chapter. | |||||||||||
Final Notes
ShimosaShimousa ContentShimousa QuestsAbout the Author(s)Latest Content | ||||||||||||