Enemy Layout
Boss Statistics
| Field Effect | At the start of the player's turn, all frontline party members take 300 damage each turn. This damage can cause death. |
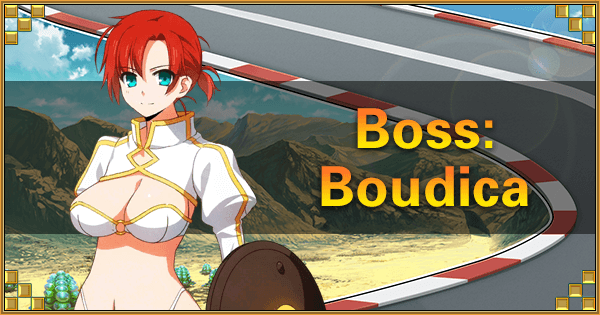
| Boudica | ||
 |
| 240,960 |
| LVL | 85 | | 285,522 |
| LVL | 90 | | 325,780 |
| LVL | 90 | |
| Class | ||
| NP Bar |  | |
| NP Type | Support (No damage) | |
| Actions | Up to 3 per turn | |
| Traits | Female, Humanoid, Riding, King, Servant, Weak to Enuma Elish | |
| Skill 1 | Vow to the Goddess B: Increase own ATK vs [Roman] enemies (3 turns). | |
| Skill 2 | Battle Continuation A: Apply Guts to self (1 time, 5 turns). | |
| Skill 3 | Andraste's Protection A: Increase party's Arts effectiveness (3 turns). | |
| No effects on first break. | ||
| Increase own DEF (cannot be removed). | ||
| NP Effect | Chariot of Boudica: Increase DEF for all allies (3 turns). Greatly increase DEF for all allies (1 turn). |
Overview
- Dead Heat Boudica’s nature as a test of endurance is reflected through its Field Effect which deals 300 damage to all frontline Servants at the beginning of each turn.
- As with other Dead Heat Summer Race Challenge Quests, this fight adopts the normal 3-wave structure. The first two waves consist of relatively low-HP Berserker golems, along with a higher-HP Ifrit on the first wave.
- While the enemies are rather weak, they should ideally be dealt with quickly as the Berserkers’ accumulated damage can be rather painful, especially considering the stage’s special effect.
- The Avenger-class Boudica herself is a fairly low threat boss thanks to her non-damaging Noble Phantasm. However, she is incredibly tanky, with more than 800,000 HP total spread over three Break bars, her NPs’ defense buffs, as well as an unremovable defense buff from her second Break. Her base attacks are also fairly strong given her Avenger class.
- Her Avenger class is also tricky to counter with only BB offering full class advantage - indirectly boosting her defenses.
- As such, she can be generally left alone, while more attention can be diverted to her 4 allies, who again are capable of dealing considerable damage over long periods of time.
- Once her allies are dealt with, the fight becomes far easier, and it is just a matter of time before Boudica, too, hits the dust.
- Thus, what can kill a Master's team is the long term grind of the field effect, the mooks, and Boudica's own chip damage.
Team Recommendations
- There are two major themes to approaching this stage, which are AoE damage and consistent healing.
- AoE NPs allow Masters to wipe out the Berserker mobs in a single turn, thereby preventing their team from receiving too much damage from either them or the field effect
- AoE Riders are recommended for an easier time against Ifrits, in particular those with NP Charge skills, as they can use their NP more than once.
- On the other hand, Servants with healing capabilities take care of the Field Effect, letting the team outlast Boudica indefinitely once she is alone.
- Berserker and Moon Cancer Servants are recommended to kill Boudica faster, especially those who can bypass her Defense buffs.
- Having an Order Change ready when it's just Boudica left could really help speed things up in case a Master went with an overly safe party.
- Servants with Defense Pierce, buff removal or buff absorption can help speed up the encounter.
- In the end, it's not hard to outheal/outlast Boudica, it might just be rather tedious to grind down her final HP bar with a full stalling team.
Video Links
Note that these videos are not affiliated with GamePress, but showcase some lineups that are effective in clearing the final challenge. These can serve as a good reference for how to rotate skills during this quest or simply to have a look at the encounter before diving in.

