Enemy Layout
| Drops | |
|---|---|
| Rewards |
x1
|
Boss Statistics
| Lancer of Purgatorio | ||
 |
| 432,740 |
| LVL | 90 | | 309,100 |
| LVL | 90 | |
| Class | ||
| NP Bar |  | |
| NP Type | Support | |
| Actions | Up to 3 per turn | |
| Traits | Male, Humanoid, Servant, Brynhild's Beloved, Weak to Enuma Elish | |
| Active Buff | Karma: The All-Piercing: Additional effect upon attack: Increase own Critical Rate by 5% with each normal attack (3 turns). (Unremovable) | |
| Redoubled Effort: Apply HP Recovery of 5,000 per turn to self (Unremovable). | ||
| Skill 1 | Knowledge of the Sowa B: Apply Sure Hit to self (3 turns). Increase own Critical Rate (3 turns). | |
| Skill 2 | Martial Asceticism B: Increase own Quick effectiveness (1 turn). Increase own Mental Debuff Resist by 100% (3 turns). | |
| Skill 3 | Sen no Sen B+: Apply NP Seal to an enemy (1 turn). Decrease DEF for an enemy (3 turns). | |
| NP | Oboro-Ura-Zuki Juuichi Shiki: Increase own ATK (3 turns). Increase own Critical Strength by 100% (3 turns). Apply Death Immunity to self (1 turn). Apply Evade to self (1 time). Increase own Critical Rate (3 turns). |
Overview
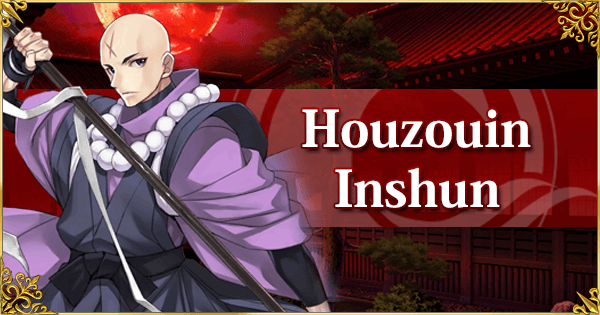
- A duel featuring Houzouin Inshun awaits, Inshun has 2 HP Bars, but the main gimmick of this fight is his stacking Critical Chance increase.
- The lv70 Support Musashi is mandatory to field. She only has her first two skills available, and must be placed in the front line. Given she has class advantage in this encounter, this is not a big issue. However, no other Supports can be selected.
- This fight has Relatively Low Difficulty as with the proper setup, it is possible for the support Musashi to essentially solo the boss with a bit of help from multiple low level / low rarity supports (see Video section)
- Inshun's NP does no damage, and instead consists of multiple self buffs, which includes a 1 time Evade.
- Each time Inshun attacks, he receives a 5% increased chance to critically hit for 3 turns (at a maximum of 45% chance)
- The true danger of this fight is the massive Critical Damage buff on Inshun's NP. Combined with his increase Critical Hit Chance, an unaware team can perish quickly.
- The minor healing over time buff he receives after breaking his first bar is hardly noticeable.
Team Recommendations
- Musashi utterly dominates this encounter. Not only can she pierce his Evasion, but her NP has buff Removal. Launch Musashi's NP after Inshun's and his damage will be reset back to 0.
- Single Target Sabers are highly effective here, and a full team of Saber should have no problems clearing this encounter. AoE Sabers are fine options as well, if a bit weaker.
- Stuns, Taunts, Buff Removal, and Evasion/Invincibility are all highly effective at surviving the turns after Inshun has used his NP.
- Avoid Defense Up, as Inshun's own Attack buff is so powerful as to negate them after he NPs. They work fine if his NP isn't active though.
- For Masters not adhering to the bond point bonus, NP Gauge Support is highly effective at speeding up the encounter: To help make the battle go as quickly as possible, bringing a support capable of providing some quick NP Charge (such as Waver, Merlin, or even Ozymandias / Helena / William Shakespeare / Mash Kyrielight) will help make things move more smoothly.
Bonus Bond Points Advice
- For this encounter, the bonus bond point condition isn't a huge issue. The strategy is roughly the same, except Master have fewer supports to enable big Saber burst damage.
- Masters can rely on Musashi herself if they lack any good Sabers of their own.
- Note that Caesar is a capable Saber support for Musashi, especially if she can be supplied with Critical Stars.
Video Links
- Note that these videos are not affiliated with GamePress, but showcase some lineups that are effective in clearing the final challenge. These can serve as a good reference for how to rotate skills during this quest or simply to have a look at the encounter before diving in.

